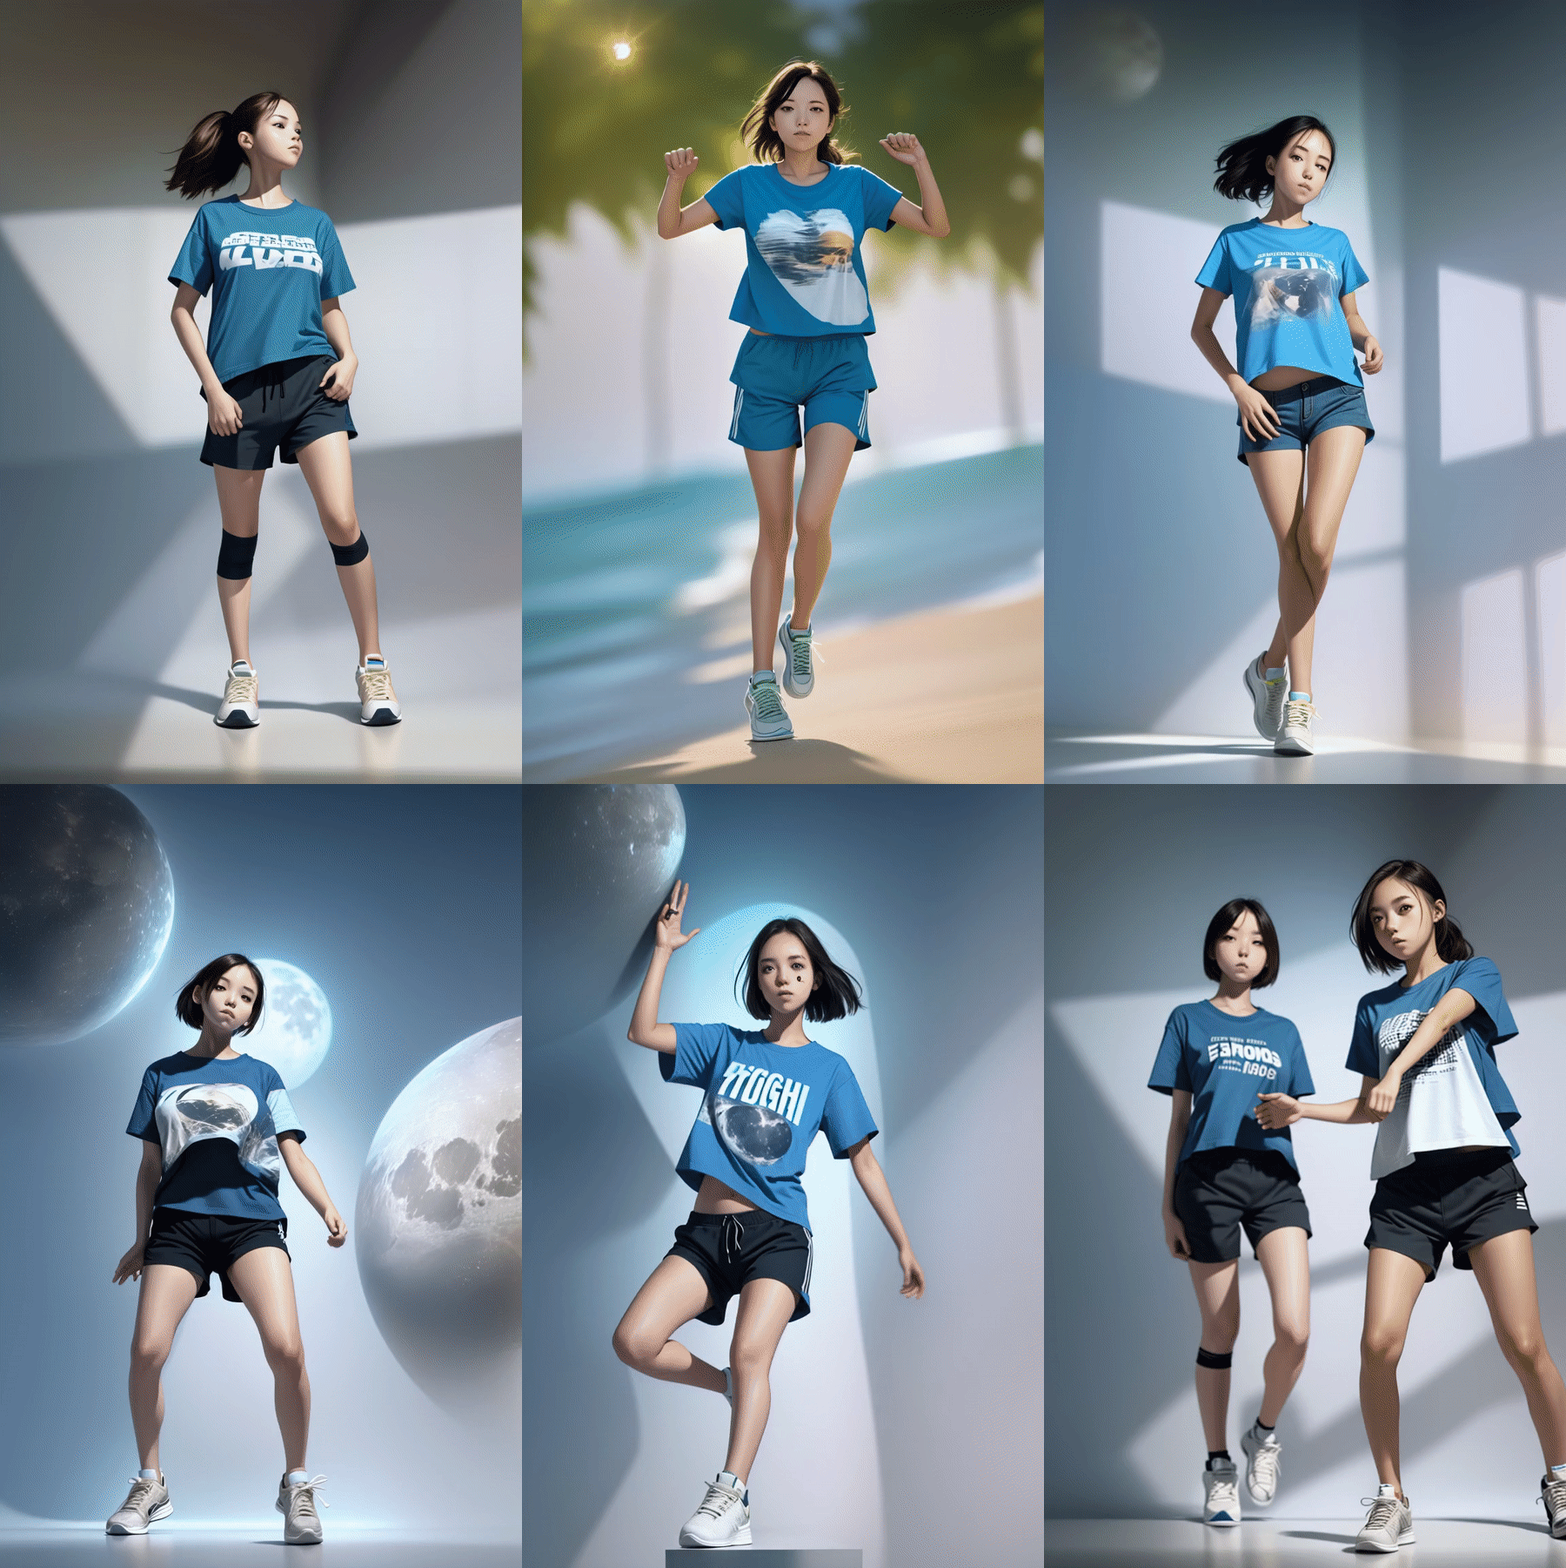
AnimateDiff Prompt Travel Video-to-video is a technique to generate a smooth and temporally consistent video with varying scenes using another video as a reference.
In this post, we will learn about
- The techniques behind AnimateDiff Prompt Travel Video-to-video
- A step-by-step guide to generating a video with ComfyUI.
This is the video you will learn to make:

How does AnimateDiff Prompt Travel work?
AnimateDiff generates motion videos with any Stable Diffusion models with amazing quality. It uses a motion control model to create motion with high temporal consistency. However, the motion is generic and limited.
What if we
- Use AnimaeDiff for temporal consistency
- Use ControlNet to copy the motion of a reference video
- Change the prompt at different time points to create a variety of scenes
These are the ideas behind AnimateDiff Prompt Travel video-to-video! It overcomes AnimateDiff’s weakness of lame motions and, unlike Deforum, maintains a high frame-to-frame consistency.
Software setup
We will use ComfyUI to generate the AnimateDiff Prompt Travel video. See the ComfyUI installation guide and the ComfyUI beginner’s guide if you are new to it.
You should have the ComfyUI Manager installed before you start with the tutorial.
Creating a ComfyUI AnimateDiff Prompt Travel video
I will provide the ComfyUI workflow file in this section. The workflow does the following:
- Take a video as input
- Applies OpenPose preprocessor to the video frames to extract human poses
- Applies AnimateDiff motion model and ControlNet Openpose control model to each frame
- Supports prompt travel for specifying different prompts to different frames
- Saving the final video
I suggest you to follow this tutorial exactly to reproduce my result before changing for your own.
Step 1. Load the workflow file
A nice feature of ComfyUI is that sharing a workflow is relatively easy. (You will understand the relative part very soon…) The whole workflow is specified in a workflow JSON file.
Download the following workflow JSON file below.
Drag and drop it to CompfyUI’s browser page.
You should see the video-to-video workflow loaded.

Step 2: Install the missing nodes
You likely need to install a few missing nodes that are needed for this workflow. That’s why you need the ComfyUI manager to help you identify them.
Click the ComfyUI Manager button.

Then click Install Missing Custom Nodes. Install all missing nodes shown.
Update ComfyUI and all nodes by clicking Manager > Update All.
Restart ComfyUI and refresh the ComfyUI page.
Step 3: Select a checkpoint model
Download the checkpoint model Dreamshaper 8. Put the safetensors file in the folder ComfyUI > models > checkpoints.
Refresh the browser tab.
Find the node Load Checkpoint w/ Noise Select.

Click the ckpt_name dropdown menu and select dreamshaper_8.safetensors.
You can, of course, use a different model.
Step 4: Select a VAE
Download the VAE released by Stability AI. Put the file in the folder ComfyUI > models > vae.
Refresh the browser page.
In the Load VAE node, select the file you just downloaded.

Step 5: Select the AnimateDiff motion module
Download the AnimateDiff v1.5 v2 motion model. Put it in the folder ComfyUI > custom_nodes > ComfyUI-AnimateDiff-Evolved > models.
Refresh the browser page.
In the AnimateDiff Loader node, Select mm_sd_v15_v2.ckpt in the model_name dropdown menu.

Step 6: Select Openpose ControlNet model
Download the openpose ControlNet model. Put the file in ComfyUI > models > controlnet.
Refresh the ComfyUI page.
In the Load ControlNet Model (Advanced), select control_v11p_sd15_openpose.pth in the dropdown menu.

Step 7: Upload the reference video
You can use the following video as input to reproduce my example.
In the Load Video (Upload) node, click video and select the video you just downloaded.

Step 8: Generate the video
Now we are finally in the position to generate a video! Click Queue Prompt to start generating a video.
Watch the terminal console for errors.
It will spend most of the time in the KSampler node. There should be a progress bar indicating the progress. The progress bar is also in the terminal console.
The progress bar will be gone when it is done, and you will see the video appearing in the AnimeDiff Combine node.

This is what you should get:

Troubleshooting
You can inspect output images from intermediate stages for troubleshooting.
You should see the extracted video frames in a node after Image Upscaling.

You should see the extracted Openpose control images in a node near the ControlNet area.

Above the output video, you should see all the frames of the output video. You can further process these images and combine them to form a video.

Customization
Generate a different video.
Change the seed value to generate a different video.

Prompts
Change the prompt prefix and prompt travel to change the subject and background.
The prompt at any frame always starts with the prompt prefix.

Then the prompt travel is added. The prompt is different at different frames.

The above prompt settings mean:
In the frames 0 to 23, the prompt is
High detail, girl, short pant, t-shirt, sneaker, a modern living room
In the frames 24 to 59, the prompt is
High detail, girl, short pant, t-shirt, sneaker, beach and sun
In the frames 60 and onward, the prompt is
High detail, girl, short pant, t-shirt, on the moon
That’s why the background is changing in the video.
Video input settings

You can set the maximum number of frames you want to load by setting frame_load_cap.
Set select_every_nth to a value higher than 1 to skip frames and speed up rendering. You will need to set the final frame rate of the video accordingly.
Tips for using AnimateDiff Prompt Travel
Faces
Make sure the faces of the original video are not too small. The workflow uses v1 models. The size of VAE of the v1 models is 512×512 pixels. It cannot paint faces that are too small.
If you must, you will need to increase the width and height of the video.
Below’s the same workflow with the image size increased to 768×1,152 pixels. The face is rendered much better.

Speeding up rendering
Reduce the maximum number of frames (frames_load_cap) in the video input box to set a cap for the length of the video. You especially want to limit it when you are testing settings, so you don’t need to wait too long.
You can also skip frames in the video by setting select_every_nth to other than 1. Setting it at 2 means using every other frame to speed up rendering, in the expense of smoothness.
Models
My experience is that not all checkpoint models are equal. A well-trained model works better with AnimateDiff. So if your model doesn’t work, try experimenting with different models.
Prompt
Since AnimateDiff is trained with a particular dataset, it just doesn’t understand the motion of some keywords in prompts. If you see weird effects, try to identify which keyword(s) give you trouble.
Along this line, it is better to start with a very simple prompt and add to it as needed.
Using Other ControlNets
You can experiment with other ControlNets. The benefit of using OpenPose is that the background is removed. Only the human pose is extracted. So, the background is free to be influenced by the prompt.
On the other hand, using Line art will extract lines for the subject and the background:

So, using line art for styling the video. Adding new elements through prompts is not necessarily easy.
Here’s the workflow ComfyUI JSON file for using line art:
Cropping the input video
You may want to crop the input video so that the person is larger. As mentioned above, Stable Diffusion won’t paint the faces and other details well when the person is too small.
You can use DaVinci Resolve, a free video editing software, to do that. Go to the Edit page and use the Transform function to crop and zoom in on the video.
Creating a side-by-side video
You may want to create a side-by-side video to compare the original and the output video. Many online software can do it for free or for a price. I used DaVinci Resolve. Likewise, it can be done through the Edit > Transform functions.


