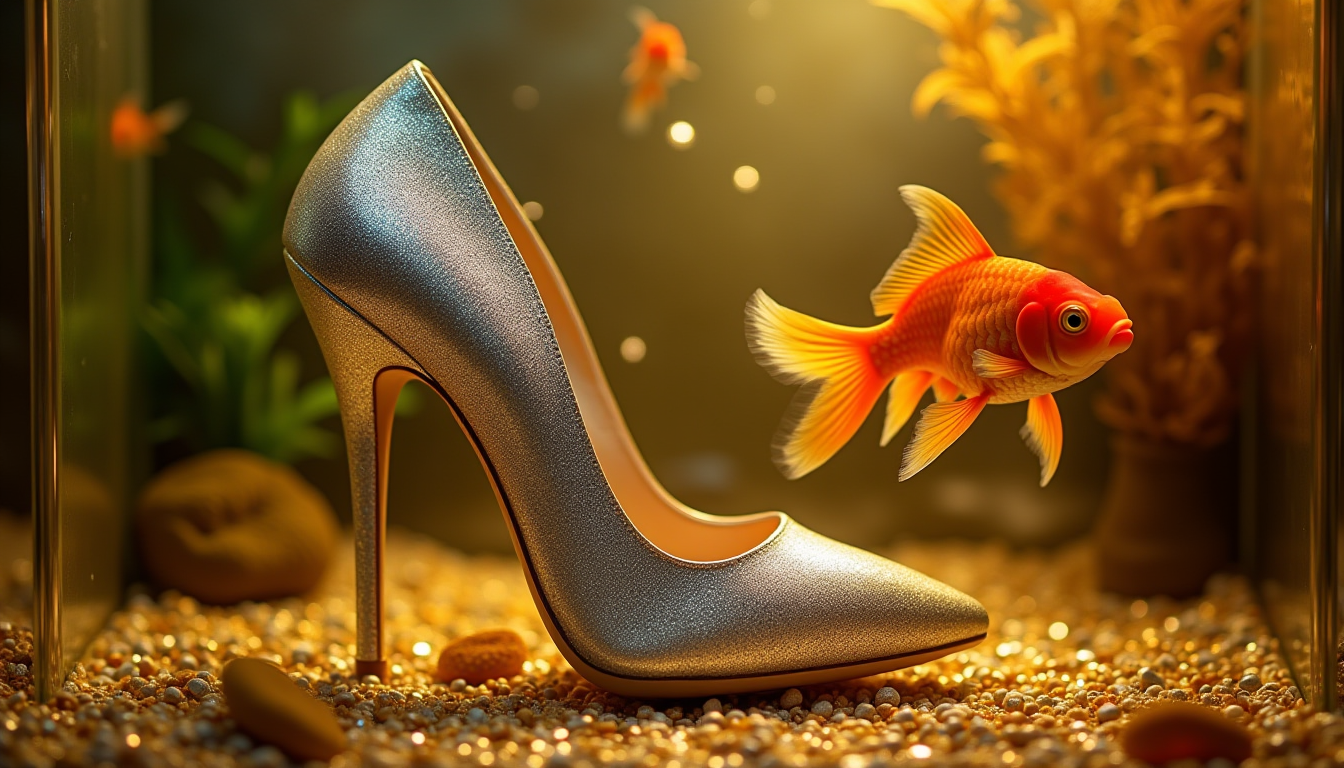
You can easily create some stunning and unique text effect images using Stable Diffusion and ControlNet. Here are some cool text effects you will learn how to make in this tutorial.


You will learn 3 methods to dial in the effect.
Software
We will use AUTOMATIC1111 Stable Diffusion GUI to create text effect images. You can use this GUI on Windows, Mac, or Google Colab.
You will also need to have the ControlNet extension installed. See the ControlNet tutorial for installation instructions.
Method 1: Txt2img with ControlNet
Step-by-step guide
- Create an image with black text and white background. You can use this website or any photo editing tool. Set the image size to 768 x 512 pixels. Save as a PNG file.
Below is an example.

2. Open AUTOMATIC1111 WebUI and navigate to the txt2img page.
3. In the ControlNet section, upload the text image to the image canvas.

We will use this reference image as the depth map.
4. In the ControlNet section, select the following:
- Enable: Yes
- Pixel Perfect: Yes
- Preprocessor: invert
- Model: control_xxxxx_depth

The invert preprocessor is necessary because more white in the depth map means nearer. We want the text in the foreground.
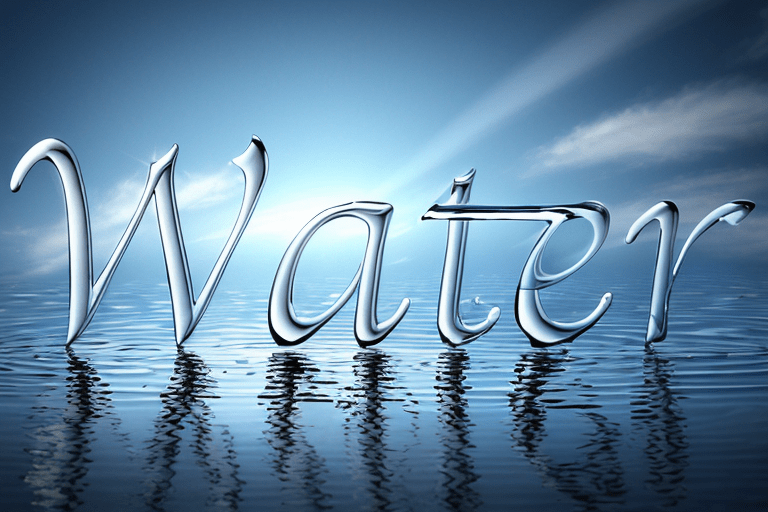
5. Enter a prompt to describe the visual effect.
Example prompt:
water, water droplet, shadow, rim lighting, reflection, sunset
6. Set the image size so that the aspect ratio is the same as the text image. In this example, it is
- Width: 768
- Height: 512
7. Select a Stable Diffusion checkpoint at the top of the page. This example uses Deliberate v2.

8. Click Generate. Here are a few results.

Play with the prompt to achieve a different effect.
water, water droplet, rim lighting, reflection, sky
water, water droplet, rim lighting,, ripple, splash, wave

Variations
Change these settings to adjust the effect.
Prompt: The prompt has a large effect on how the images look. (This is text-to-image, after all.) Try some lighting and style terms. See the prompt guide.
Model: Not all models produce good effects. Don’t hesitate to experiment with different models.
Control Weight: Reduce the weight to allow more change to the text area.
Ending Control Step: Reduce the weight to allow more change to the text area.
More examples
Honey
honey, honey pot, honey dripping, bokeh, bees, drop shadow, rim lighting
Model: Deliberate v2
Control Weight: 0.8
Starting Control Step: 0
Ending Control Step: 1

Fire
Prompt:
fire,melting, drop shadow, rim lighting, burning words
Model: Deliberate v2

Prompt:
fire, words melting, drop shadow, rim lighting, burning words, bokeh
Model: Realistic Vision v2

Bread
Prompt:
bread on kitchen table
Model: Realistic Vision v2
Ending Control Step: 0.6
Tips: This one works better with heavy fonts.


Method 2: Mutliple ControlNet
This method lets you control the background of the text with a second ControlNet.
Step-by-step guide
- Do everything in Method 1 to set up the first ControlNet (Unit 0)…
2. Create a background image for the second ControlNet (Unit 1). The sample black-and-white image below creates a surface effect.

3. Upload this image to ControlNet Unit 1.
(If you don’t see multiple ControlNet tabs, go to Settings > ControlNet. Set Multi ControlNet to 3)
4. Basically, the same setting as the first ControlNet:
- Enable: Yes
- Preprocessor: Invert
- Model: control_xxxx_depth
- ControlWeight: 0.5
Optionally reduce the Ending Control Step for more variations.

5. Click Generate.
We have added a surface below the text.

Method 3: Use a stock image as background
- Do everything in Method 1 to set up the first ControlNet (Unit 0)…
2. Find a background image with patterns you like. We will be extracting the depth map from it. You can use royalty-free stock image sites like Unsplash or Pixabay.
For example:

3. Upload the background image to the second ControlNet (Unit 1)
- Enable: Yes
- Preprocessor: depth_zoe
- Model: control_xxxx_depth
- ControlWeight 0.5
Optionally reduce the Ending Control Step for more variations.
4. Click Generate.
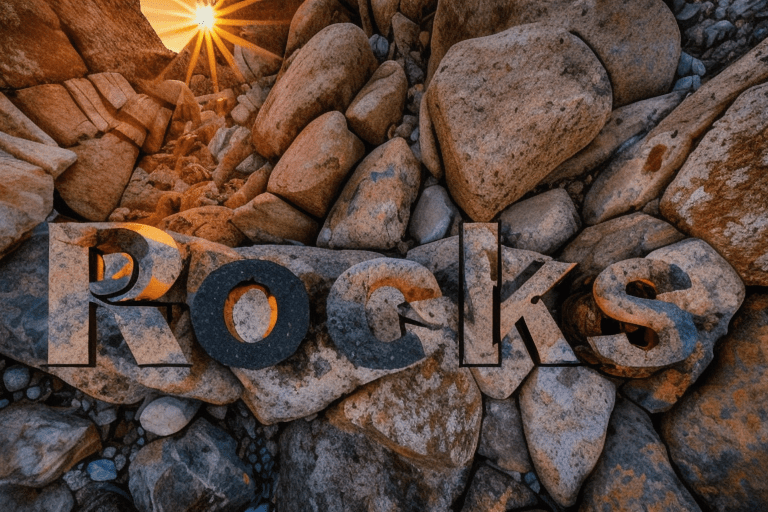
This is the text image used:

Prompt:
rocks, sunset, shadow
Model: Realistic Vision v2
Generated text effect image:

Adding a few pieces of bread using this workflow.

Tips
- Heavier fonts work better if you want to transform the text into objects like bread and rocks.
- When using multiple ControlNet, you may need to adjust the Control Weight to make both effects show.
- Reduce the Ending Control Step to blend text and background more naturally.
- Not all models work with your prompt. Switch to a different one and observe the effect.